

How to Test SSO Authentication with Cognito and OIDC Providers
Prerequisites for all OIDC Providers
This guide covers the admin setup for SSO authentication built with Django and AWS Cognito. The full reference implementation is available on GitHub: django-cognito-sso-demo.
To ensure SSO works correctly in your application, you must complete the following steps:
Add OIDC Provider to the Cognito user pool to External Providers, for this you need Client ID, Client Secret and Issuer ID of OIDC Provider.
Make sure that SSO Provider with this App Client credentials exists on your application.
Configure the “groups” claim in the ID Token on your OIDC provider.
This is required for group validation to function properly in SSO.
- Add a custom group claim to Cognito by creating a custom attribute named groups.
The name must match the “groups” claim used in all OIDC providers that will be included in your application SSO.
After setting up the Admin Panel, we are ready to test SSO authentication.
Provider Setup Guides
Azure Single Sign-On (SSO) Setup: A Step-by-Step Guide Okta Single Sign-On (SSO) Setup: A Step-by-Step Guide
Other OIDC providers typically follow a similar setup process.
Log in via Cognito
Step 1: To log in to your application via the Azure SSO Provider, send a GET request to:
<cognito_domain>/login?client_id=<client_id>&redirect_uri=<redirect_uri>&response_type=code&scope=openid&state=<client_id>
where:
cognito_domain - the AWS Cognito Domain
region - the AWS region where your Cognito User Pool is hosted (e.g., eu-central-1);
client_id - the Cognito App Client ID for the specific tenant (client);
redirect_uri - the callback URL configured in Cognito for your application (e.g., https://yourapp.com/api/oidc/cognito/callback/);
state - a parameter used to maintain state between the request and callback (here you must reuse the client_id).
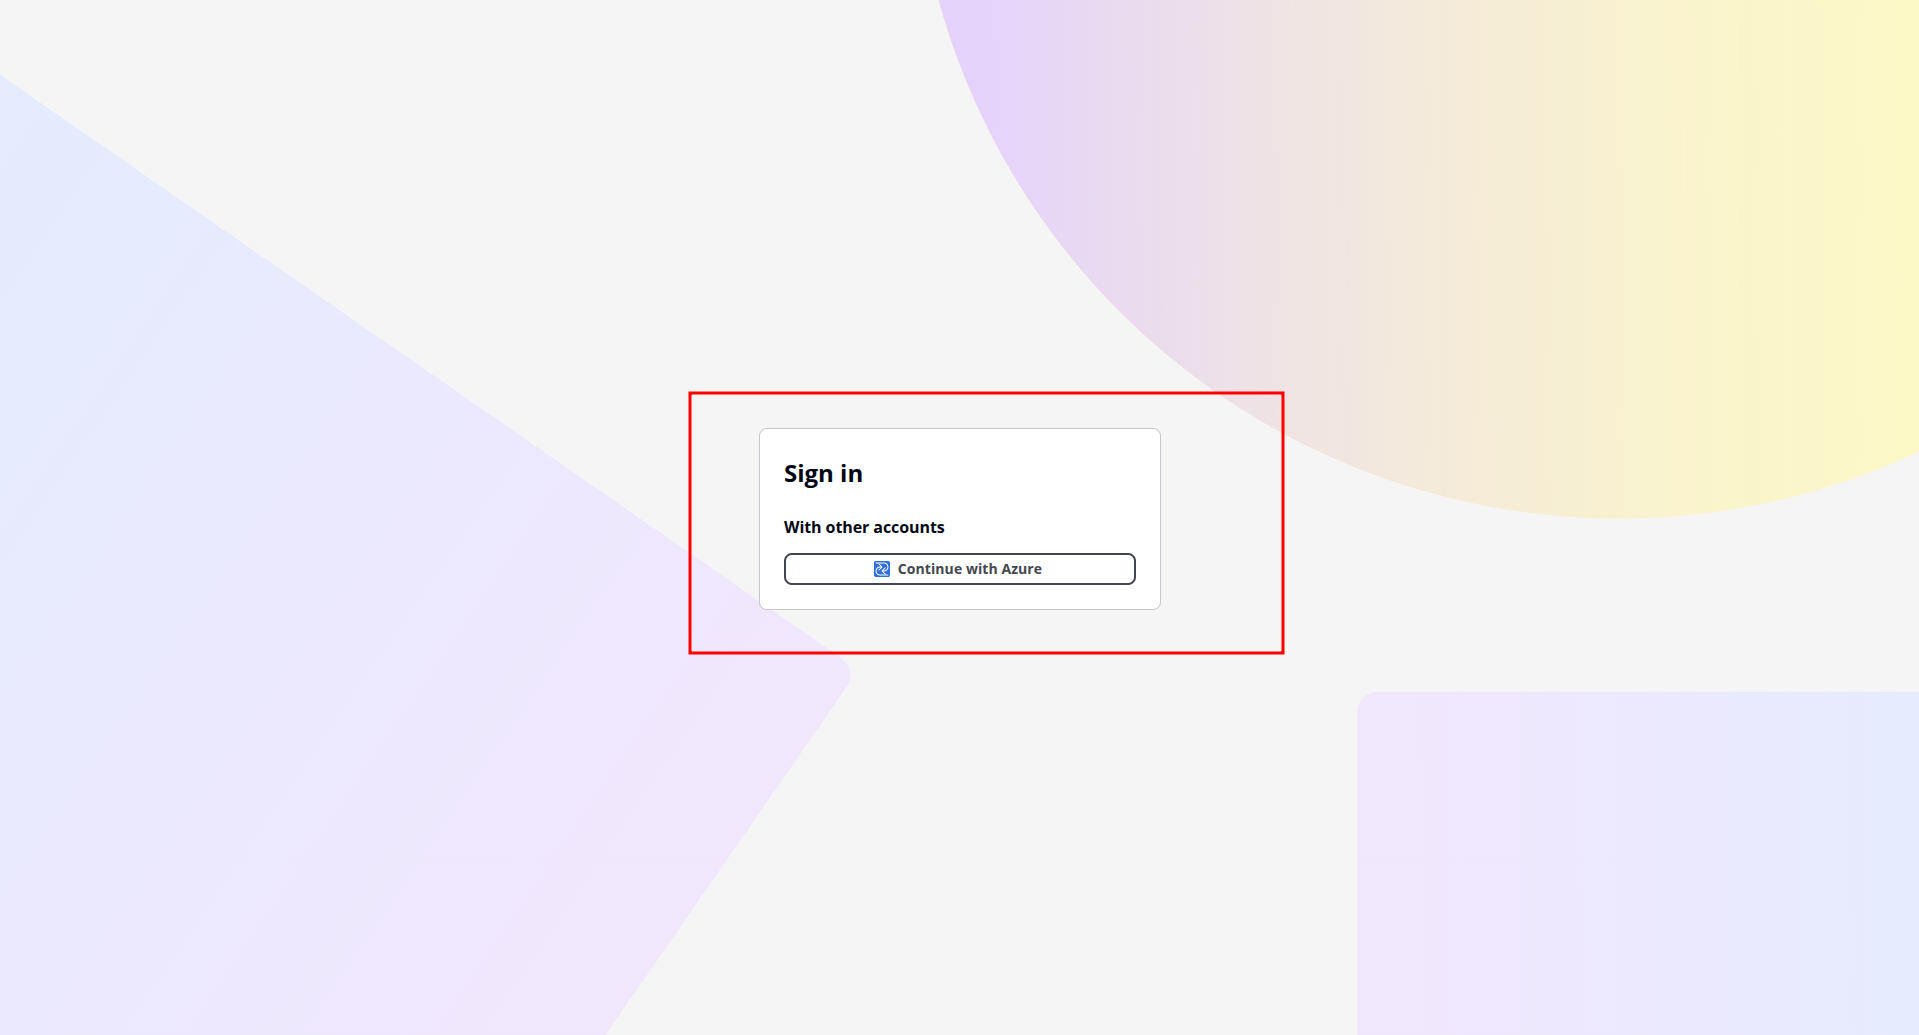
Click on your Continue with your OIDC Provider name, that you enter in Cognito.
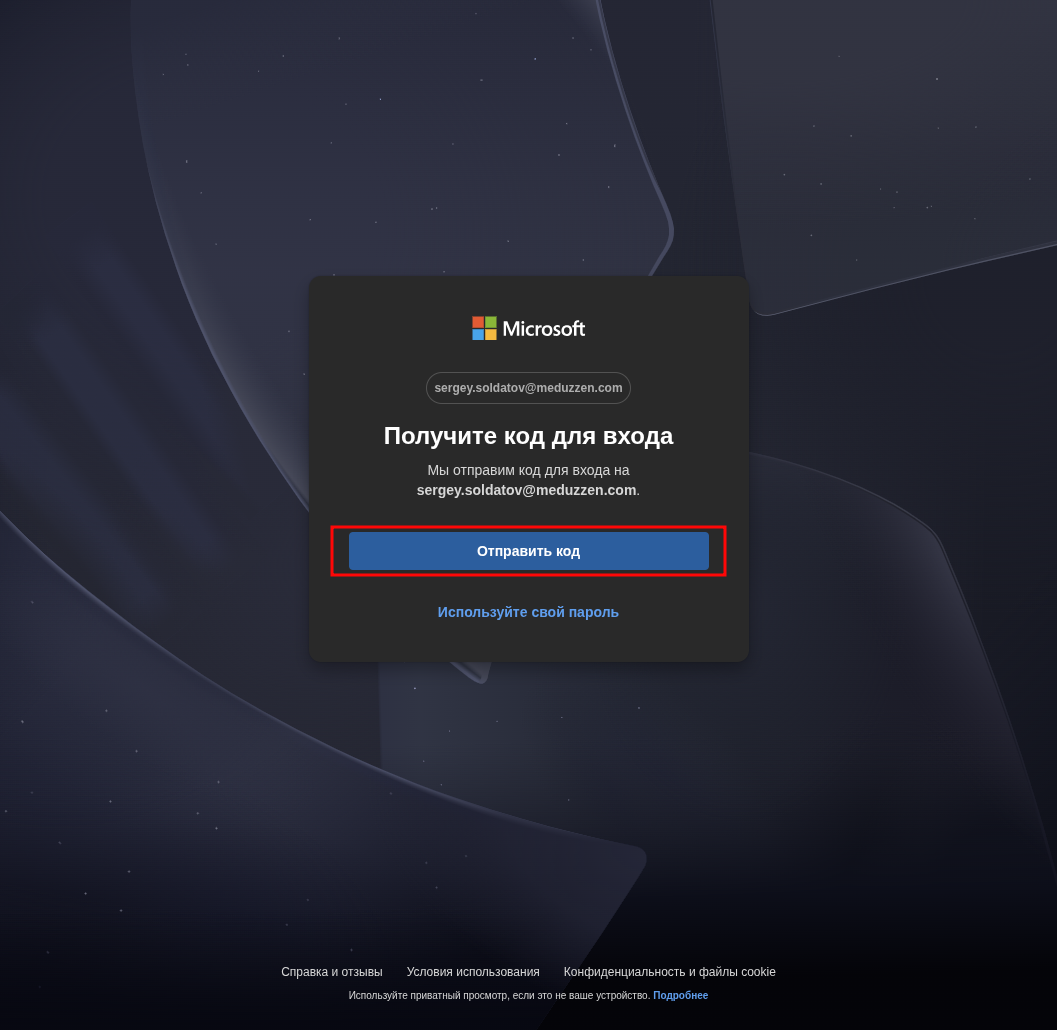
Step 2 After sending the request, you will be redirected to the Your OIDC Provider login page, in my case it’s Microsoft login page. Click Receive Code.
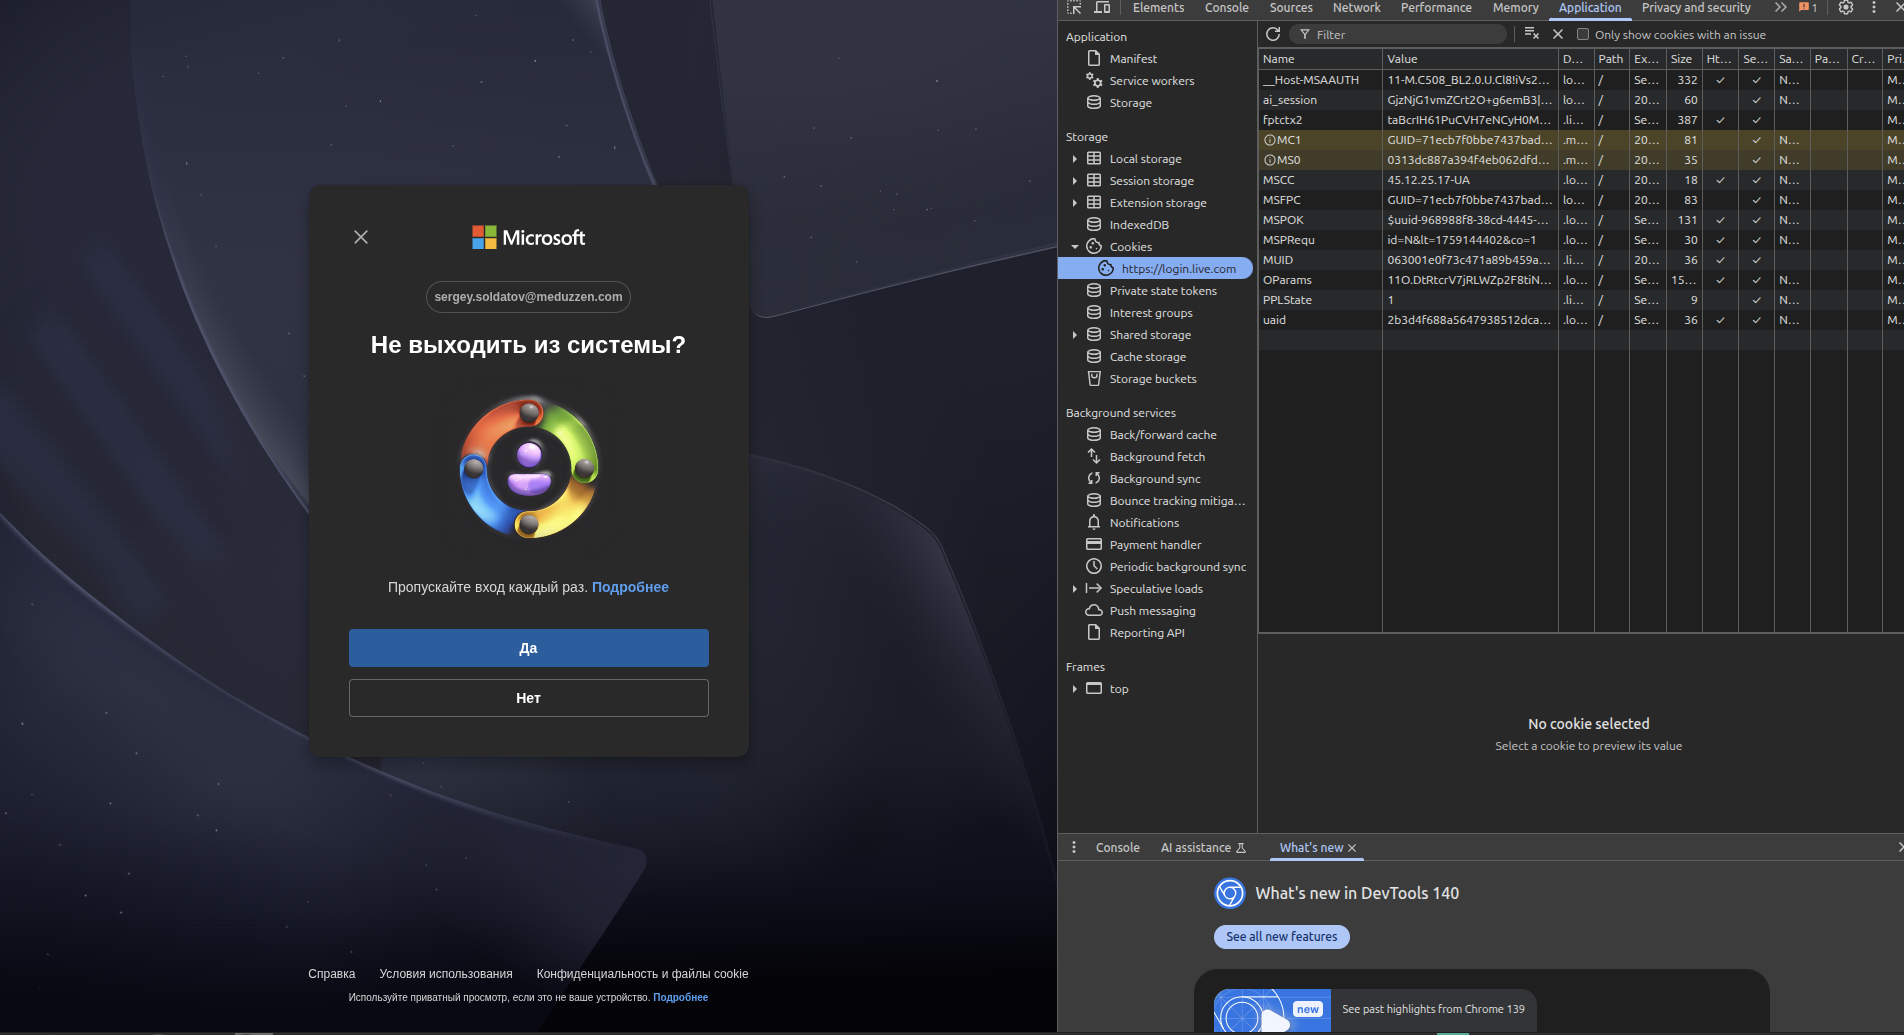
Step 3: Enter the code sent to user_email, then click Yes.
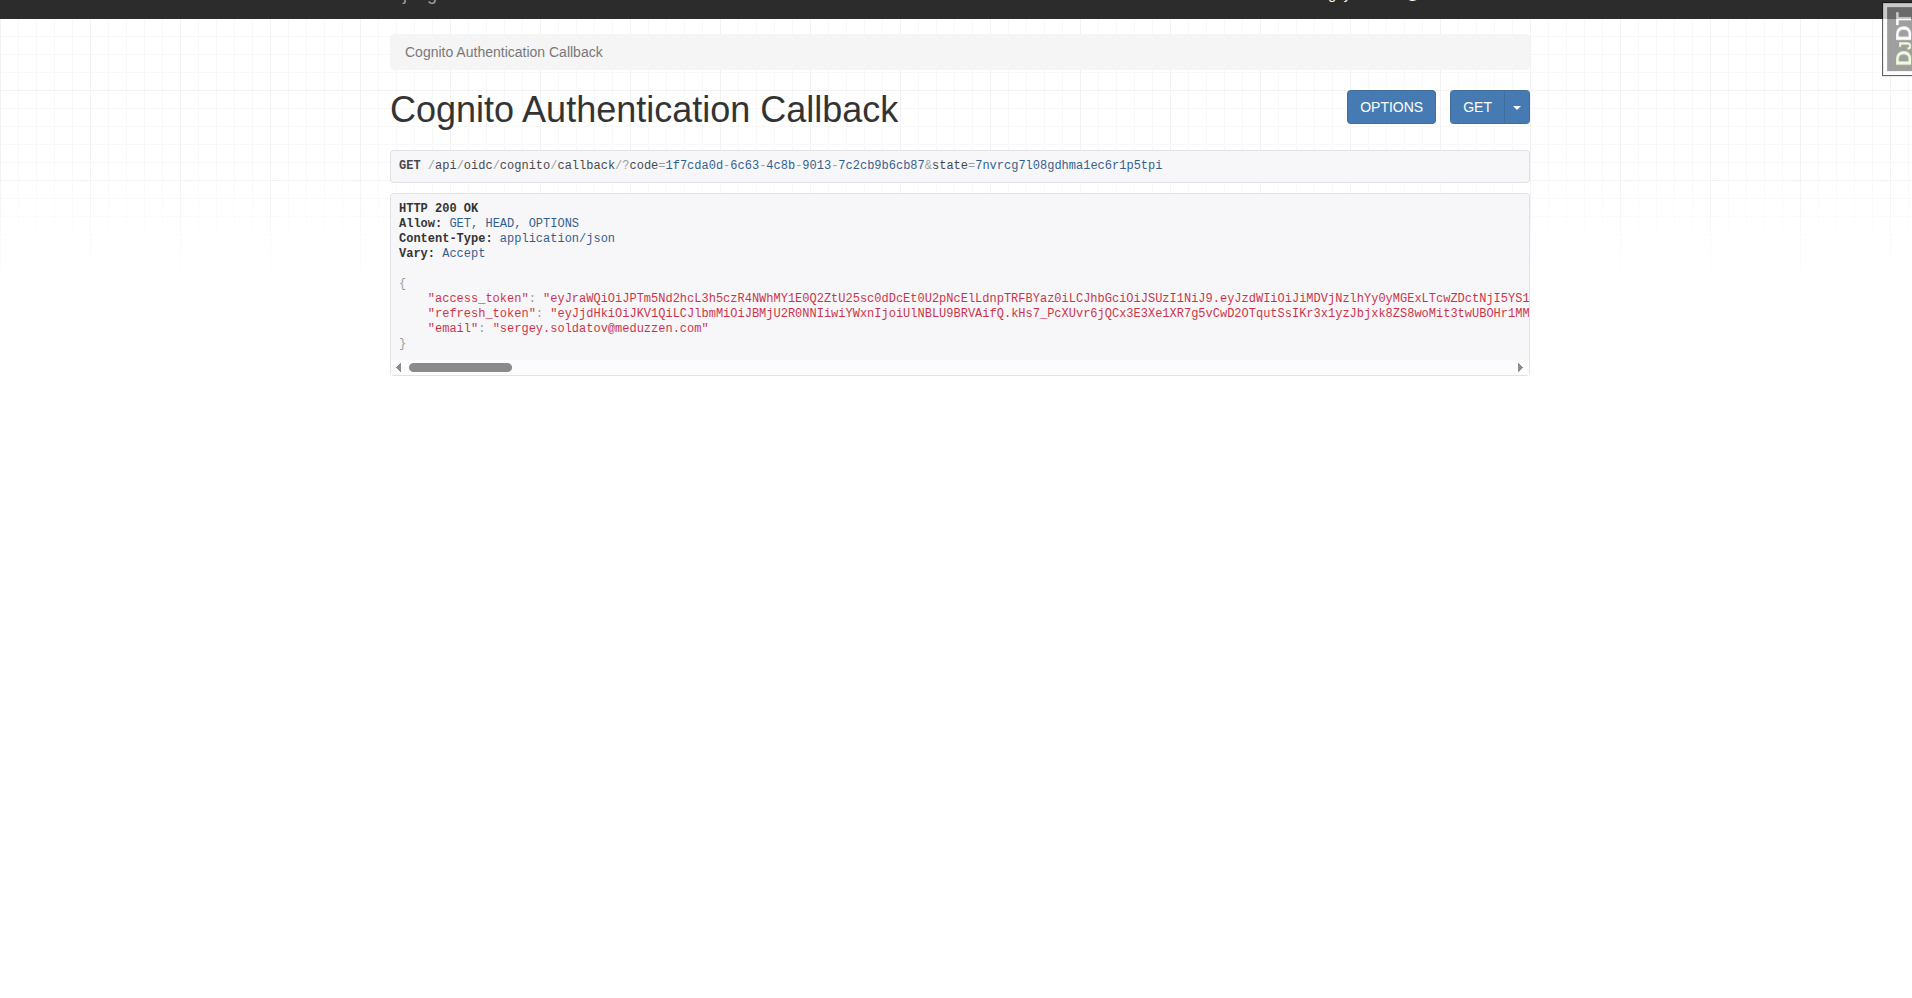
Step 4: After successful authentication, you will receive a response with your authentication tokens.
Step 5: To check if a user was actually created after SSO login, you can:
Check via the Admin Panel: Go to Admin Panel → Users and search for the user by email.
Check via API: Send a GET request to:
/api/users/me/
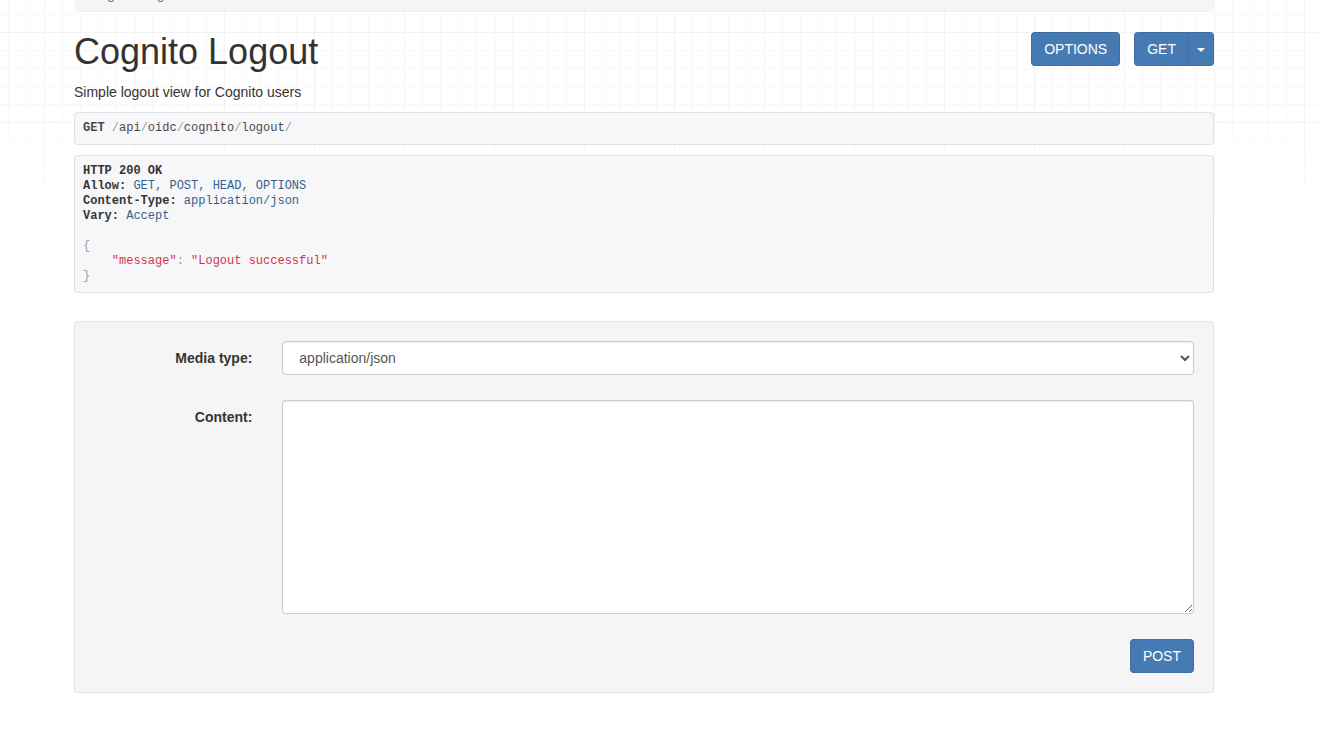
Testing Log out
To log out, send a POST or GET request to:
/api/oidc/cognito/logout/
After successful logout you will receive a response with your message “Logout successful”.
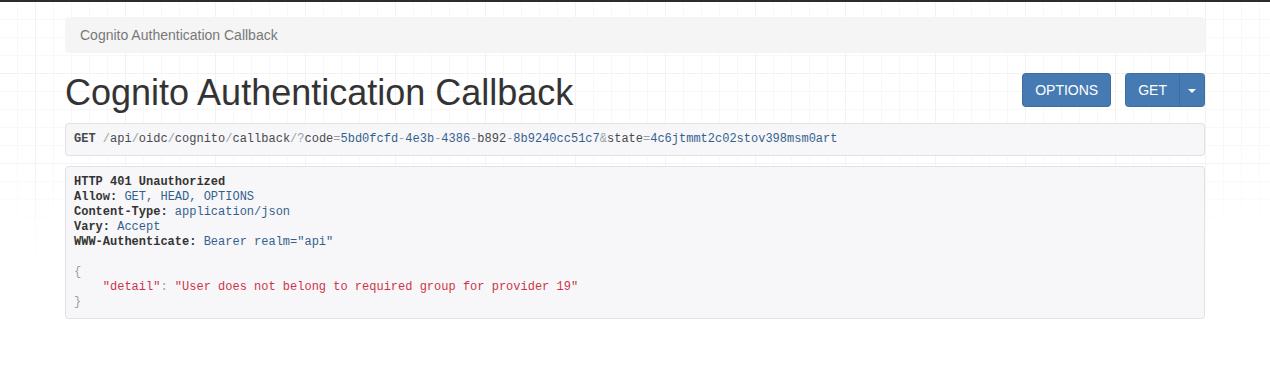
Group Validation
If the user is not a member of the IAM group, the group name is incorrect in the Admin Panel for the SSO Provider, or the user’s email domain is not linked with a rights holder of the app_id, the login attempt will fail, showing an error, where provider 19 is SSO Client Provider ID.
✅ You have now successfully SSO authentication!
